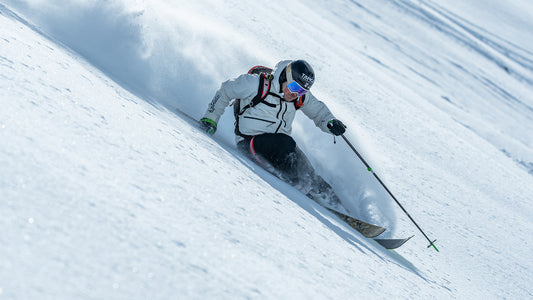
River Radamus goes fast for a living. He is a professional Alpine Ski Racer and avid outdoorsman. River is a young gun on the US World Cup team, and boasts a résumé which already includes 3-time Youth Olympic Games Gold Medalist and 5-time World Junior medalists. Outside of Ski Racing, River is a passionate surfer and photographer. You can typically find him either laying down the sickest hipdrags on the mountain, or chasing swells in Central America.
We were able to catch up with him this week to find out the secrets to his speed. Here is what he was willing to share with us.
River's Guide to Pro Turns
Step 1: Pull your feet behind you at the initiation.
This will also bring your hips up and put you in the front of your boot. This is your strongest and most versatile position from which to build a turn.

Step 2: Start from the ground up.
When I start my turn, my first feeling is my toes almost clenching the bottom of my boot. You don’t have to have that fine of a sensation, but the order of movement should remain the same. The feet and ankles engage the turn, then the knees roll in, and then the hip gets to roll in. Leading with the hip and upper body may feel cool, but if your lower body, or ‘platform’, is not established, your turn will have no power, and most importantly, it won’t look cool.

Step 3: Extend your legs, but don’t lose your upper body structure.
Once your platform is established, you can give your skis the freedom to do what they were built to do: carve with power. The more trust you give them, the more dividends they will return. As you near the apex, you can extend your skis away from your body and further angulate. This means your skis get higher up on edge, your hip gets nearer to the ground and, in racer parlance, your ‘angles’ get sicker. This position is more powerful and radical, but also more precarious. The whole movement hinges on pressure being maintained on the outside ski. This means that the upper body needs to stay stable and upright. Something I think about is pointing my upper body just outside of my ski tips. This does 2 things. It both allows my inside knee to lead in a powerful position, and keeps my center of balance on my outside ski.

Step 4: Release and re-do steps 1-3!


